How to Connect WP E-Signature to Zapier
kevin.gray
1. Sign up for a Zapier Account
To connect WP E-Signature with Zapier you will need to first sign up for a free (or paid) account at Zapier.com
2.a Get a Zapier Parser Forwarding Email
Zapier has a tool that can pull Signers Name + Signed Document URL from a WP E-Signature generated email. You will need to sign up for a Zapier Parser Email Account. Sign up Here
2.b Create a New Parser Mailbox
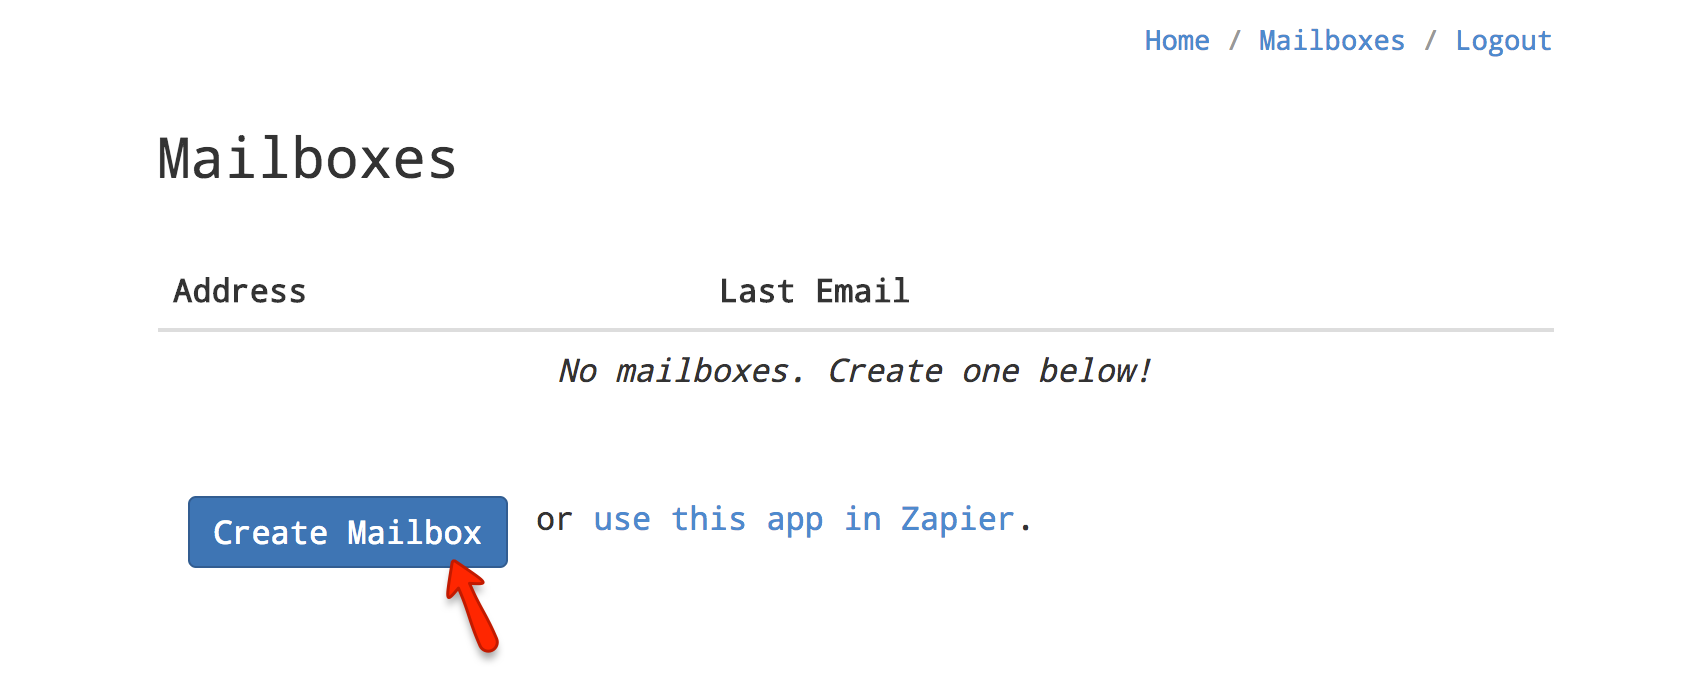
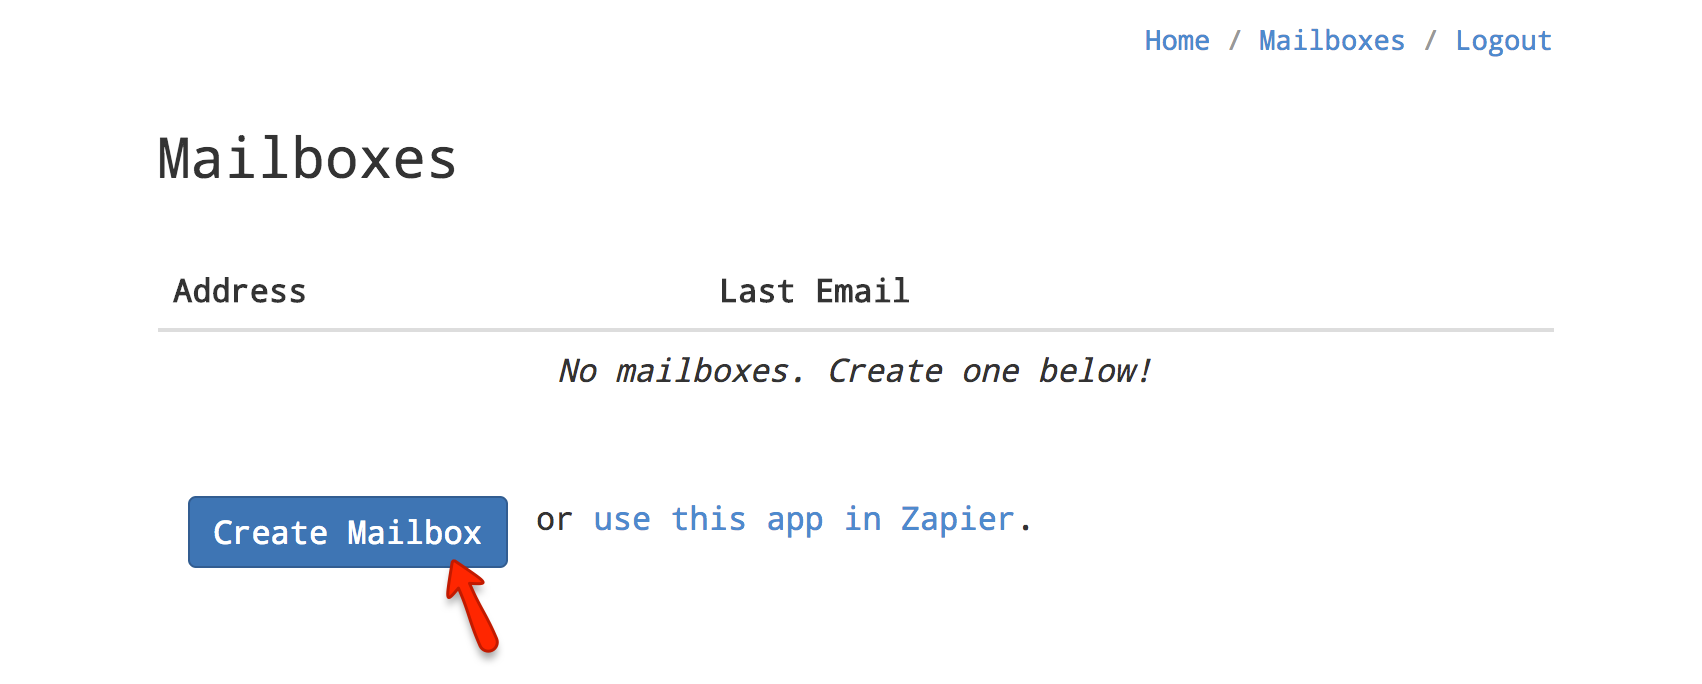
Once you’ve created a Zapier Parser Account from https://parser.zapier.com you will need to “Create a Mailbox.”
2.c Copy the Zapier Robot Parser Email Address
WP E-Signature sends out email notifications once a document has been signed. The subject line is always the same. SUBJECT: {Your Document Name} Has Been Signed
You will need to login to your email account and setup a filter to forward a copy of ALL emails with the subject “{Your Document Name} Has Been Signed” To the email that Zapier parser gave you in our case it would be “[email protected]”
2.d Test the filter/email forwarding
Go sign a test document so that the signer confirmation email will be forwarded to the zapier parser robot email address.
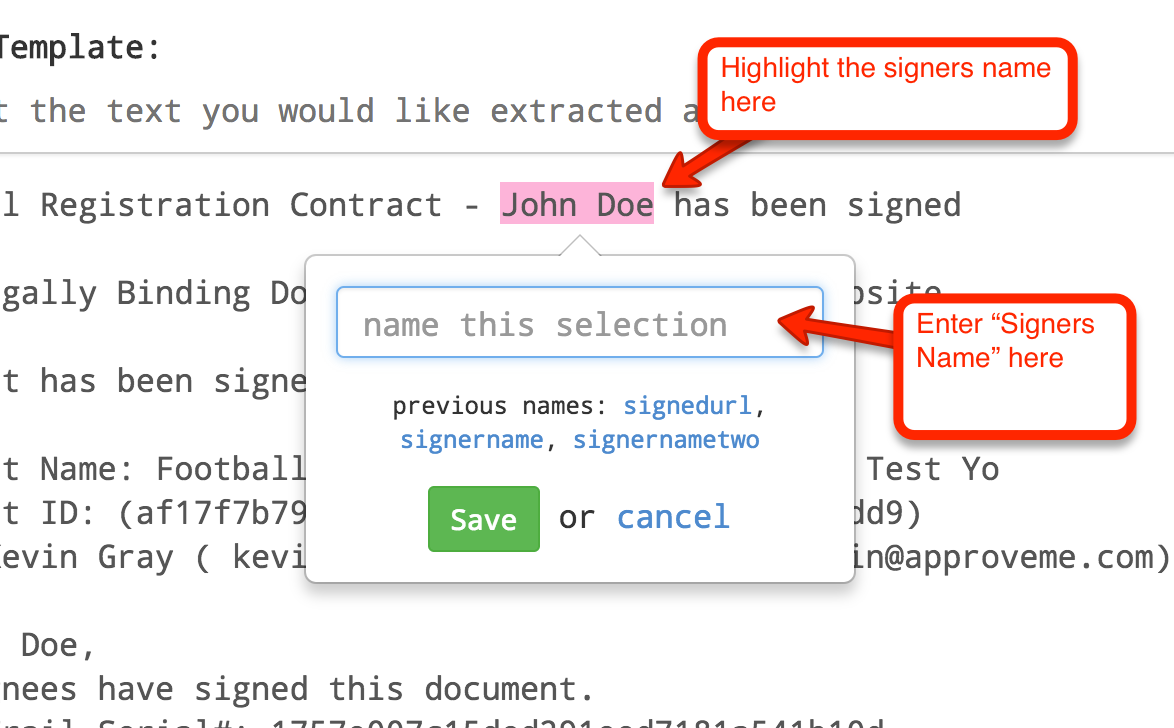
2.e Save Settings
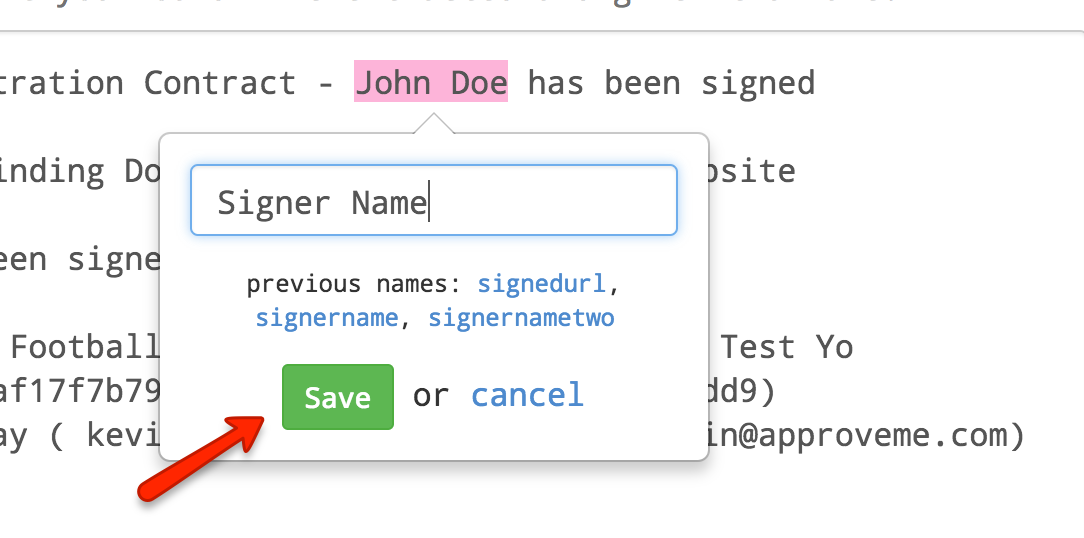
2.f Repeat Steps for the Document Name + Document URL
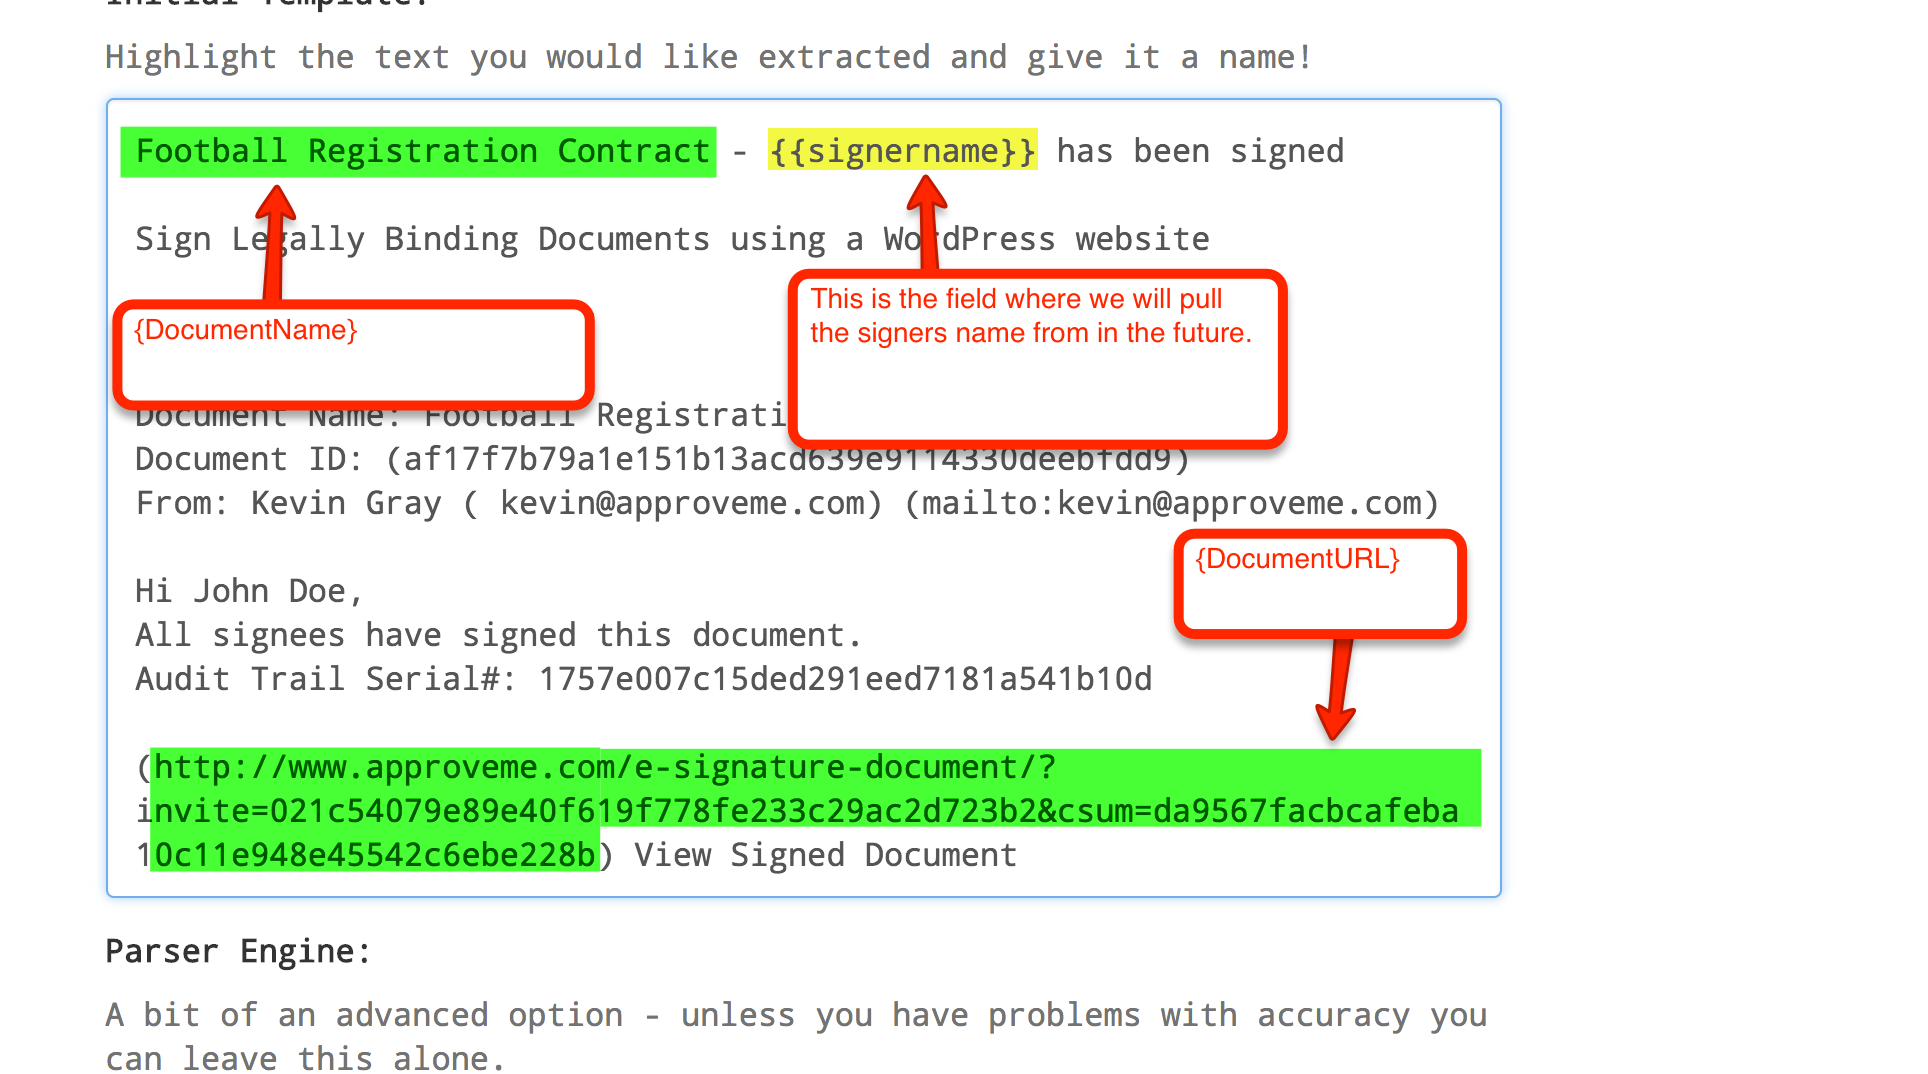
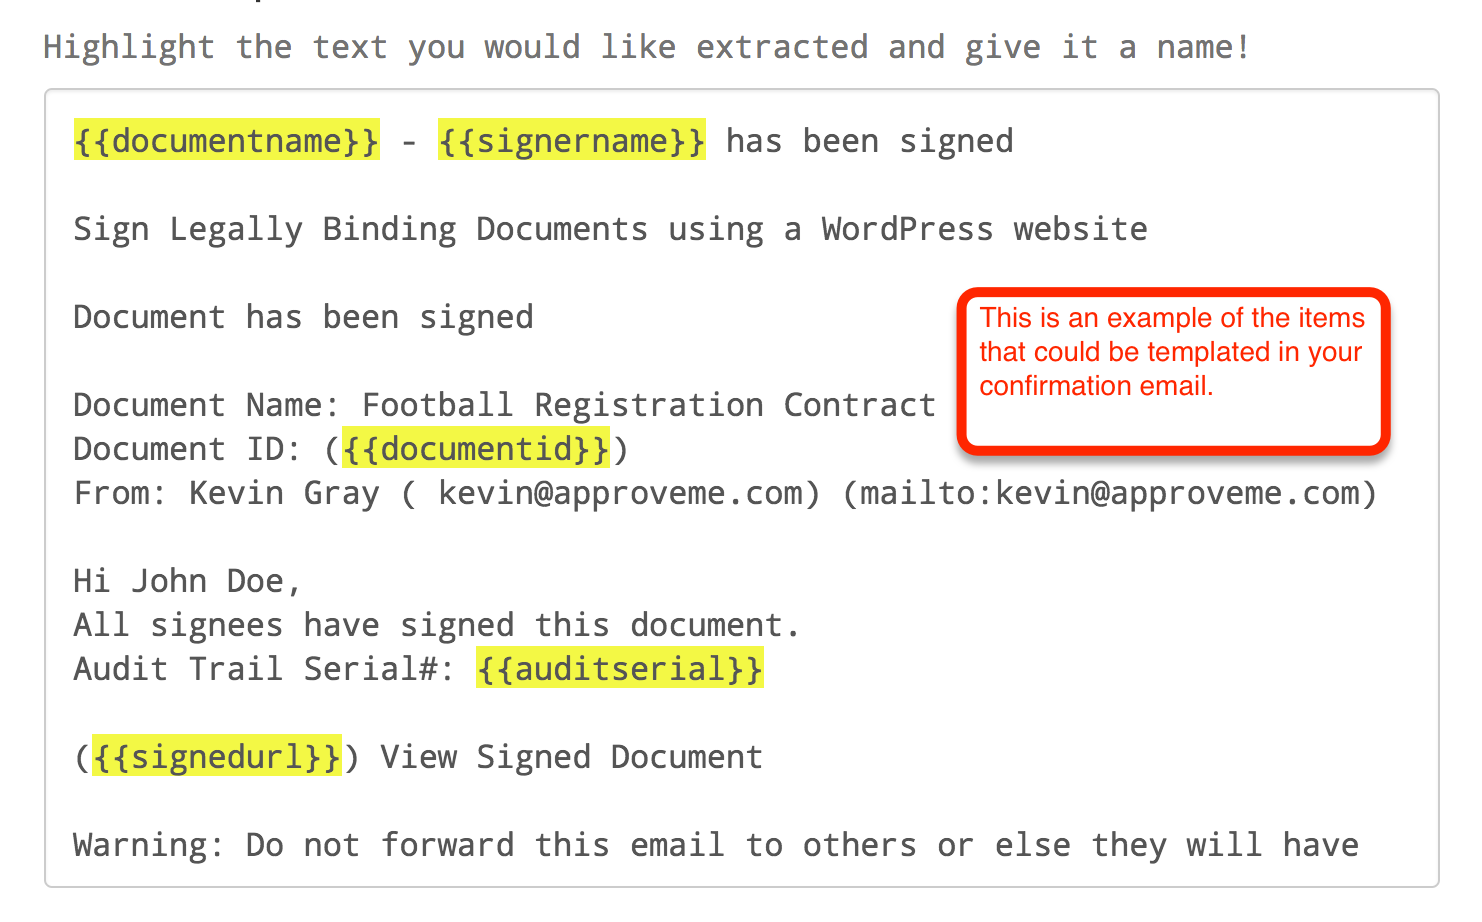
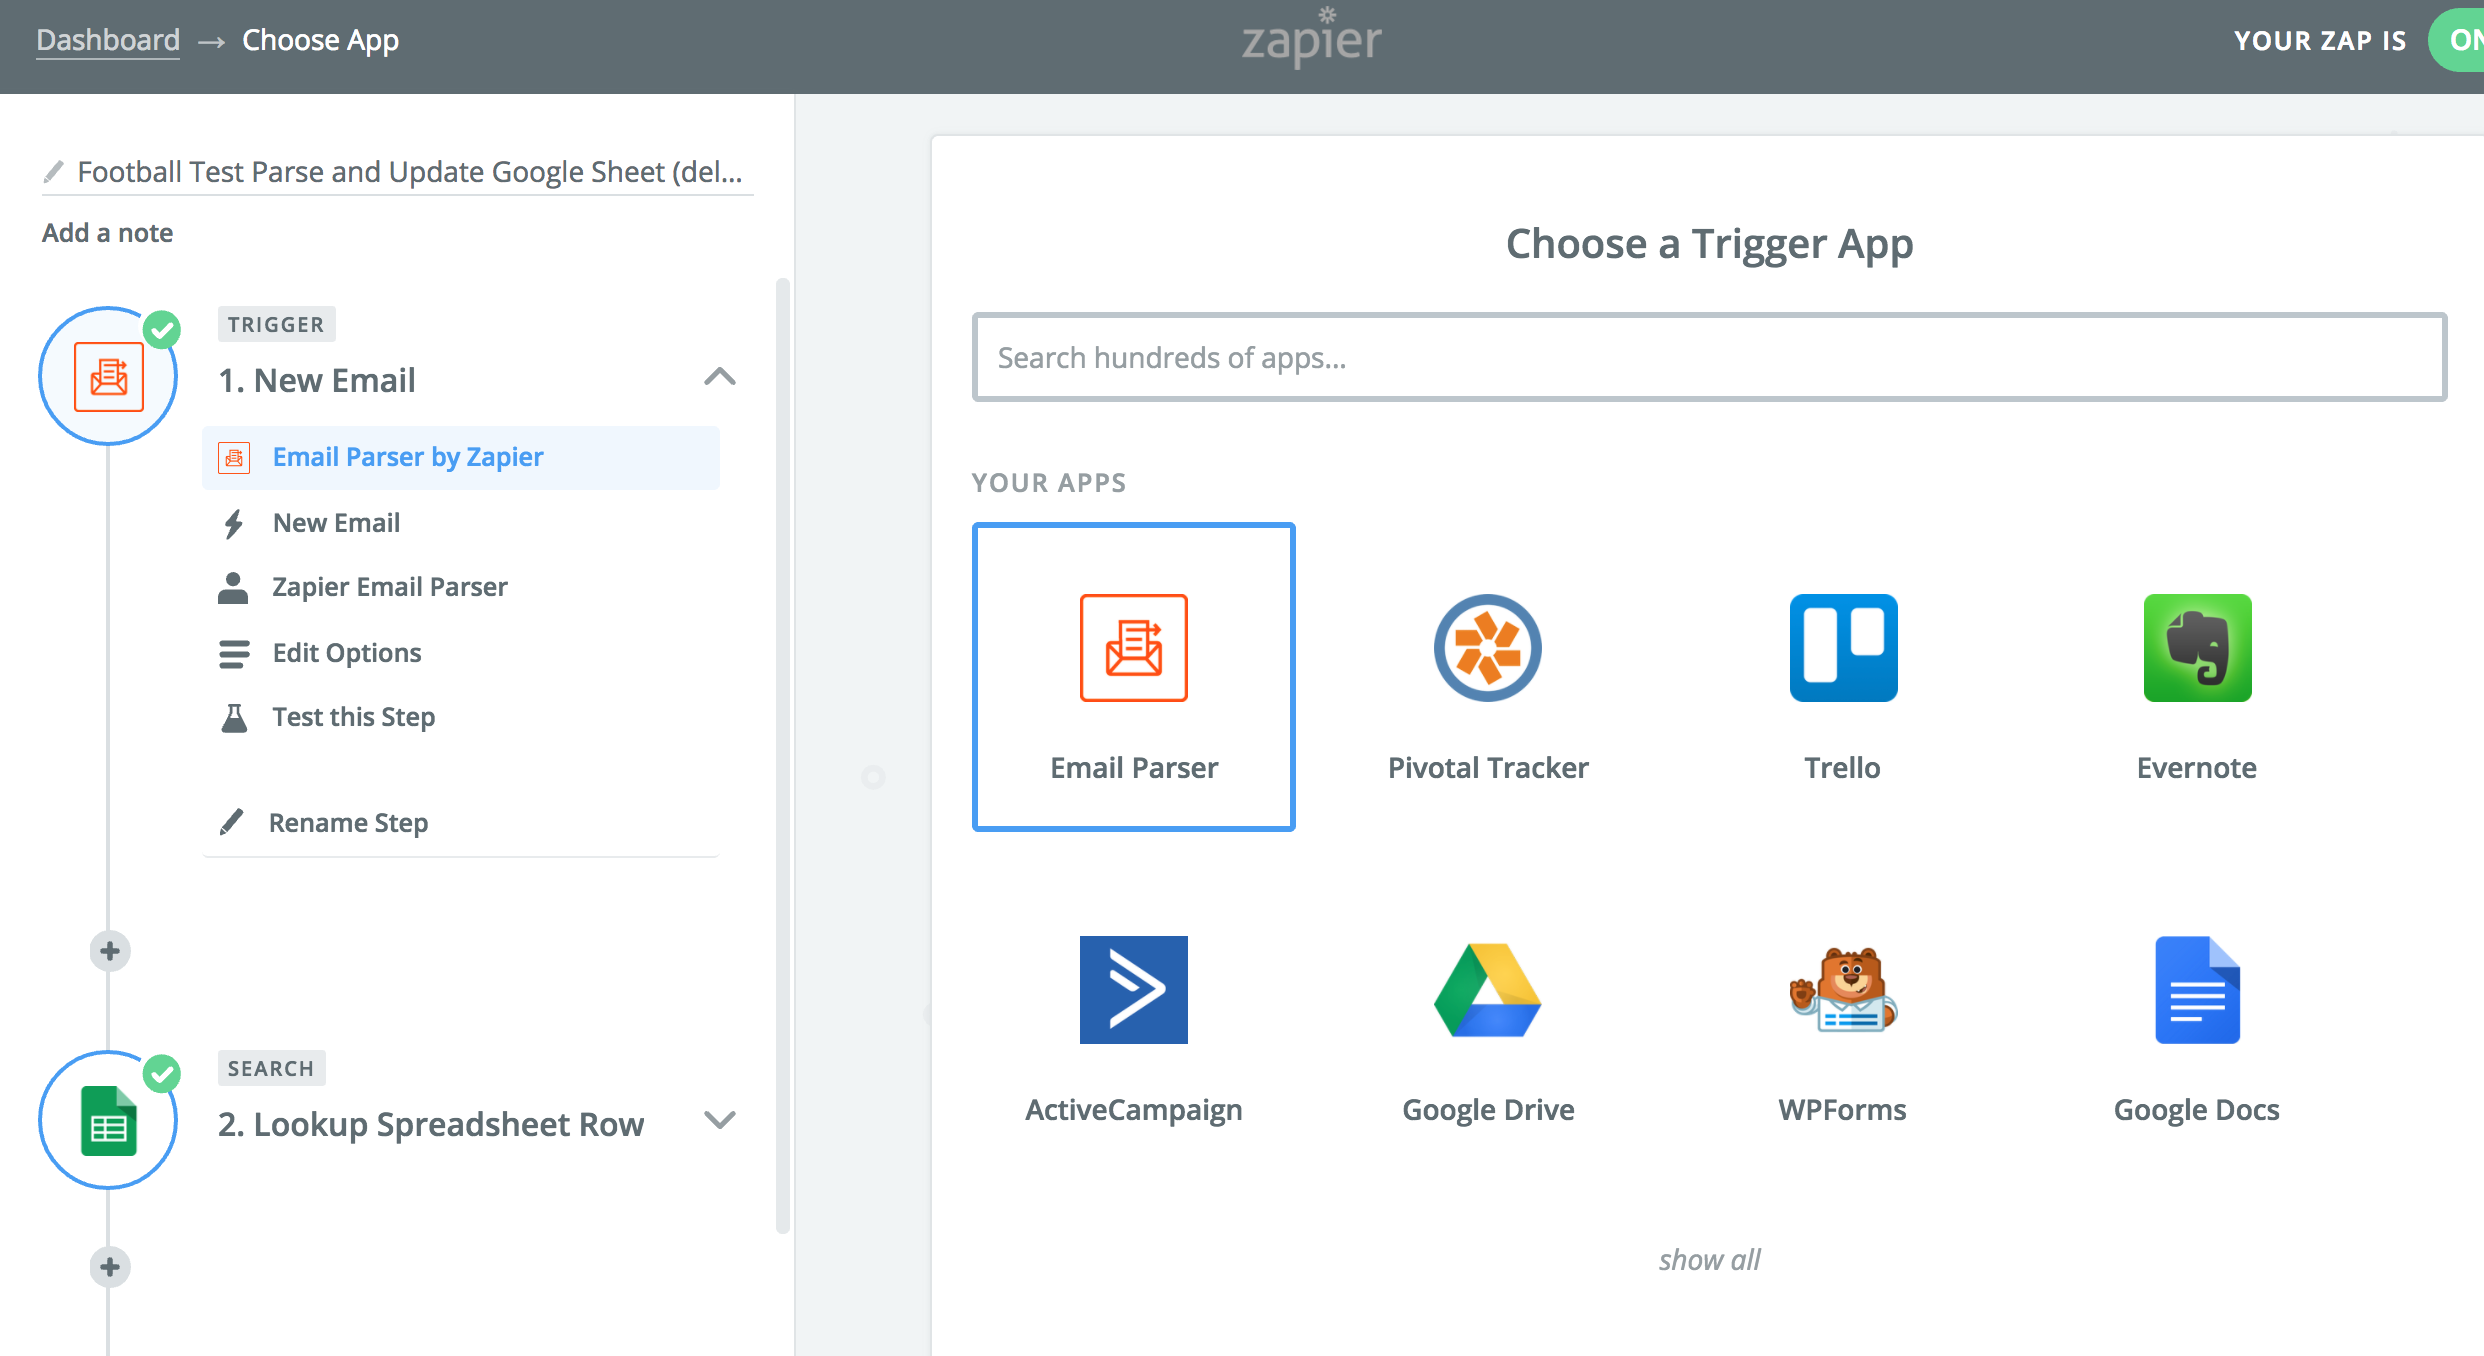
3.a Login to Zapier.com and choose “Email Parser by Zapier” as the trigger
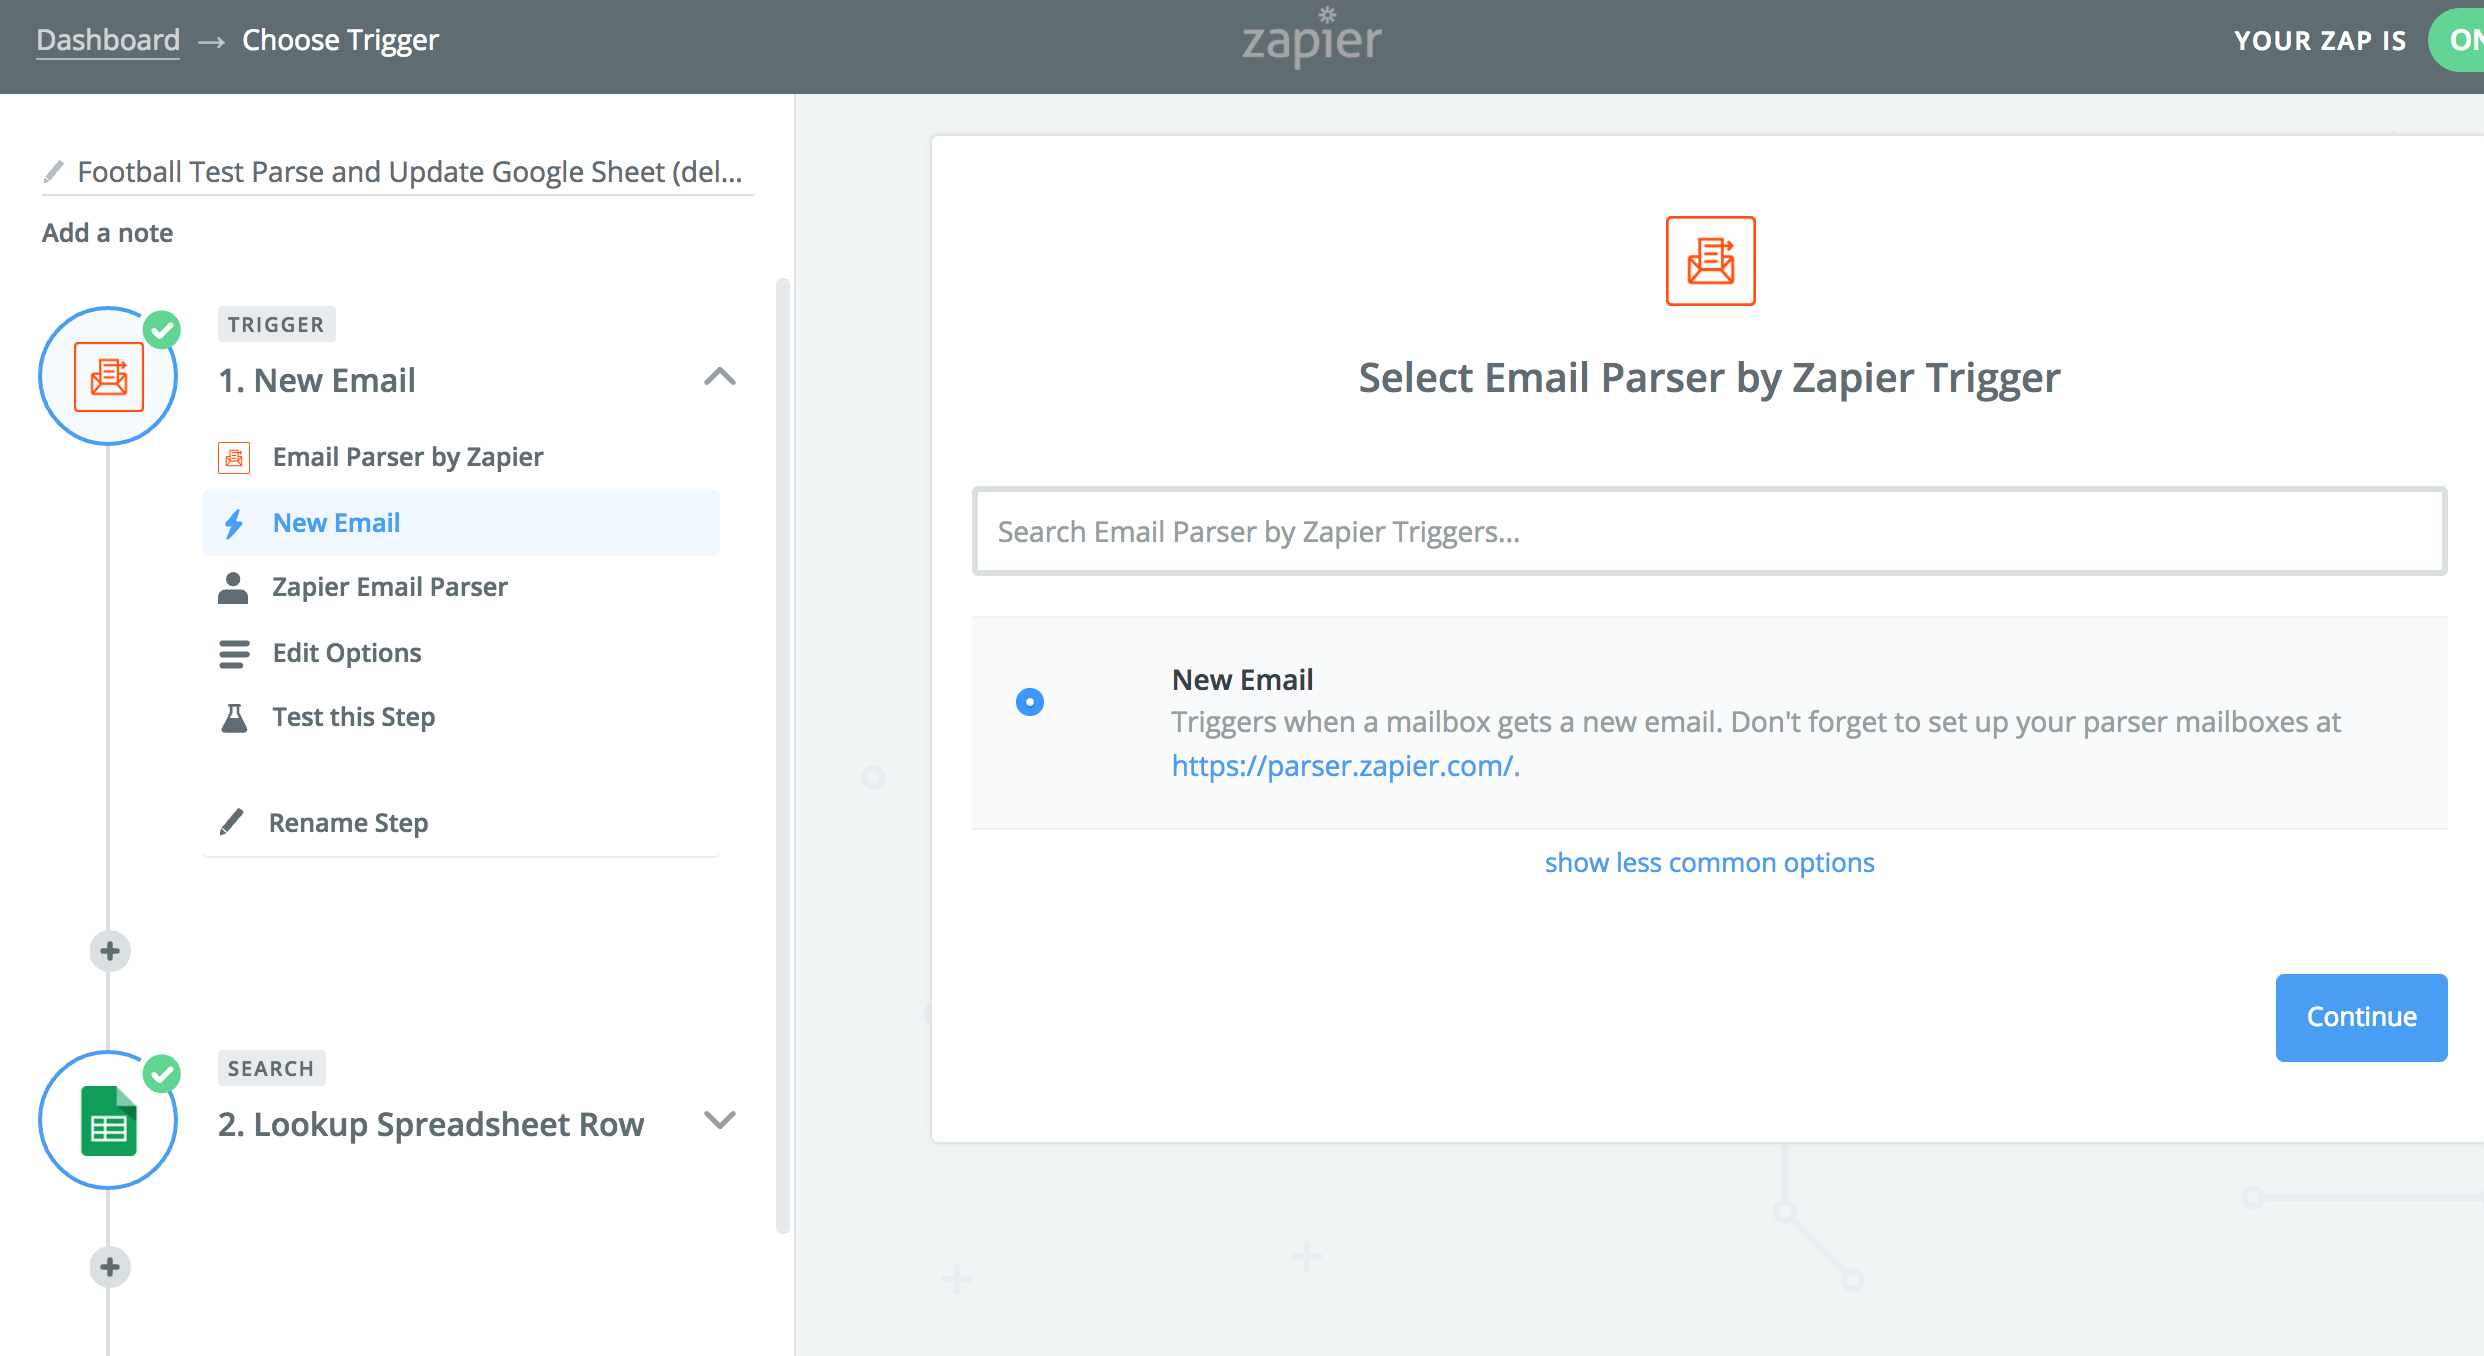
3.b Select New Email
4. Select Your “Action” in Zapier. Now you have the following dynamic data to insert into any third party application that integrates with Zapier.
– Document Name
– Signer Name
– Document ID
– Signed Document URL
If you were to setup a similar zapier using our WordPress Online Signature plugin’s Dropbox add-on and zapier you could easily send the PDF of the signed document to other zapier integrations.
If you have any questions about how this integration works, our free online signature maker, contract templates library, or email signature generator feel free to reach-out to us at: curious at approveme.com we’re real people and we’d love to hear from you!


