
Want to get started uploading your first contract template with WP E-Signature? By following the step by step instructions in this walkthrough, you can easily upload, send, track and sign your agreement from your WordPress website.
- Install WP E-Signature on your WordPress website
- Search for your Contract Template
- Customize your Contract Template
Note: The steps below are for WordPress version 4 or newer. If you are using an older version of WordPress, please backup your site and update WordPress to the latest version.
Add a New Document
To upload your first document/contract template you’ll need to have already installed WP E-Signature.
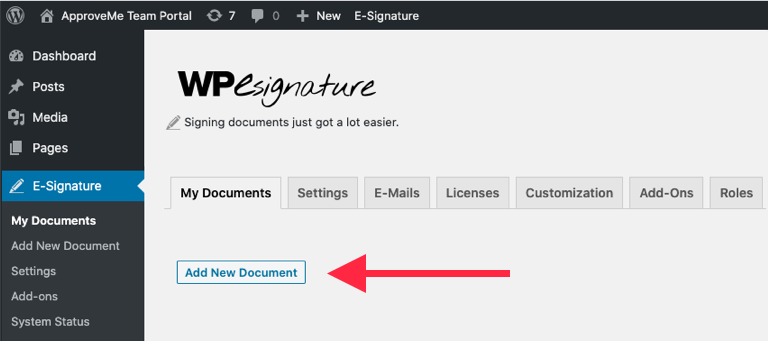
To get started, you’ll need to be logged into the WordPress admin area of your website. One there, click on E-Signature in the admin sidebar and go to the “Add New Document” link.
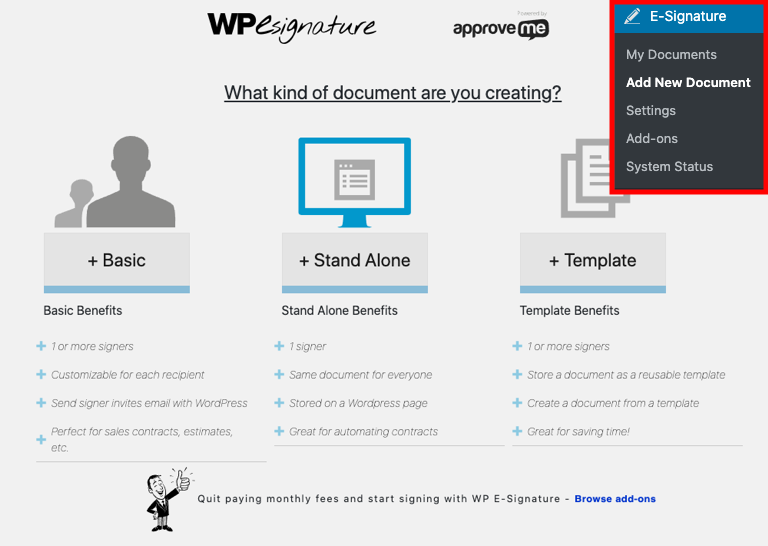
Choose your Document Type
In the Setup page of the Contract Builder, you will need to choose what type of document/contract you would like to upload.
Note: Stand Alone Documents and Templates will require a WP E-Signature license that has the Pro Add-ons. All Pro-Add-ons are included in the Ultimate, Business and Pro license. learn how to install/enable the Pro add-ons here.
+ Basic
You may choose either a Basic Document (which is a document that gets sent via email to recipients/signers you manually add).
+Stand Alone
A Stand Alone Document (or a document which is usually used for a more general documents (like a waiver, NDA, etc…) and lives on the page of your WP site that you define. Signers can visit the page and sign directly (totally automated!) or you can send them an invitation to sign via email from the backend of the plugin (using the share/invite button).
+Template
A Template is a tool you can use to save document content for use in both stand alone documents and basic documents. You create it like you would a document by adding content and customizing the document options. Then, you save the template and use it to create a document with in the future! Think of it as a “clonable” draft.
Learn more about the differences between these three document types here
- How to prepare and send a Basic Document
- How to prepare a Stand Alone Document waiver
- How to setup a Template Document
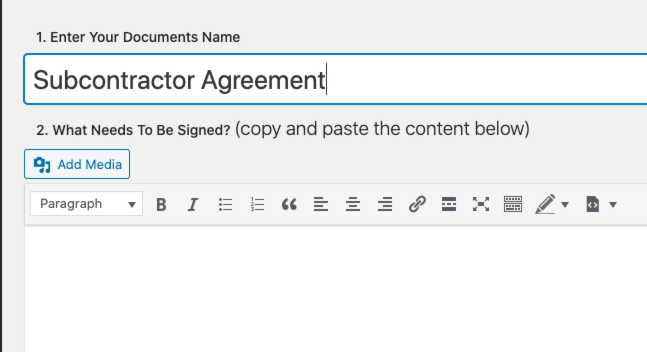
Give your document a name in WP E-Signature’s Contract Builder
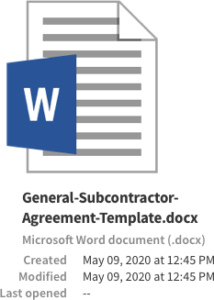
Copy your Downloaded .docx Contract Template
Select the text in your downloaded contract template, right click using your mouse or track-pad and Copy the contract contents.
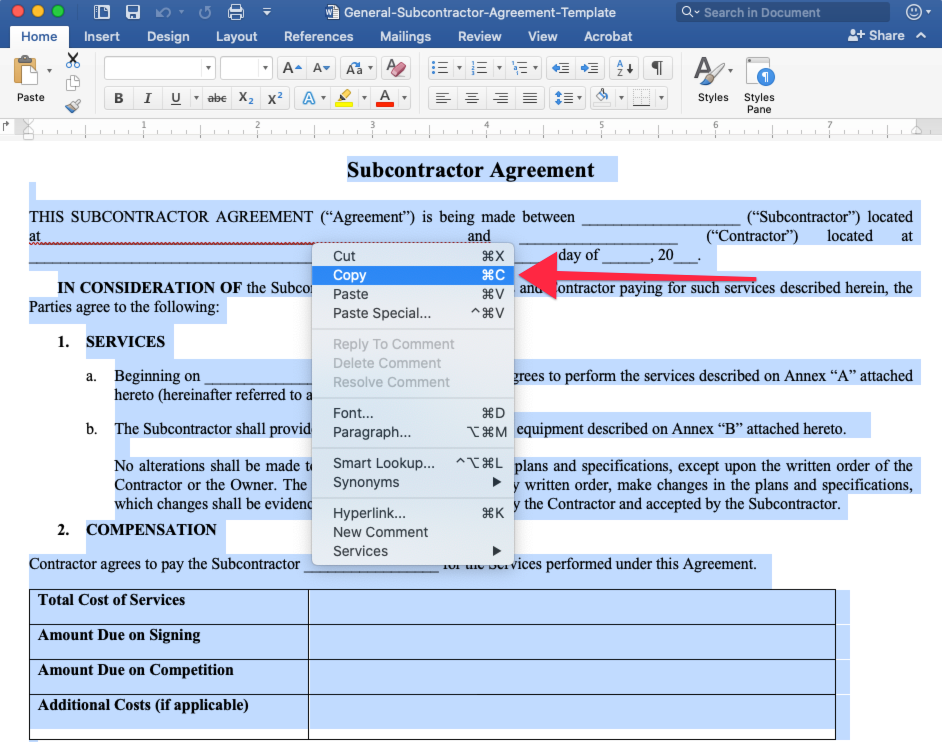
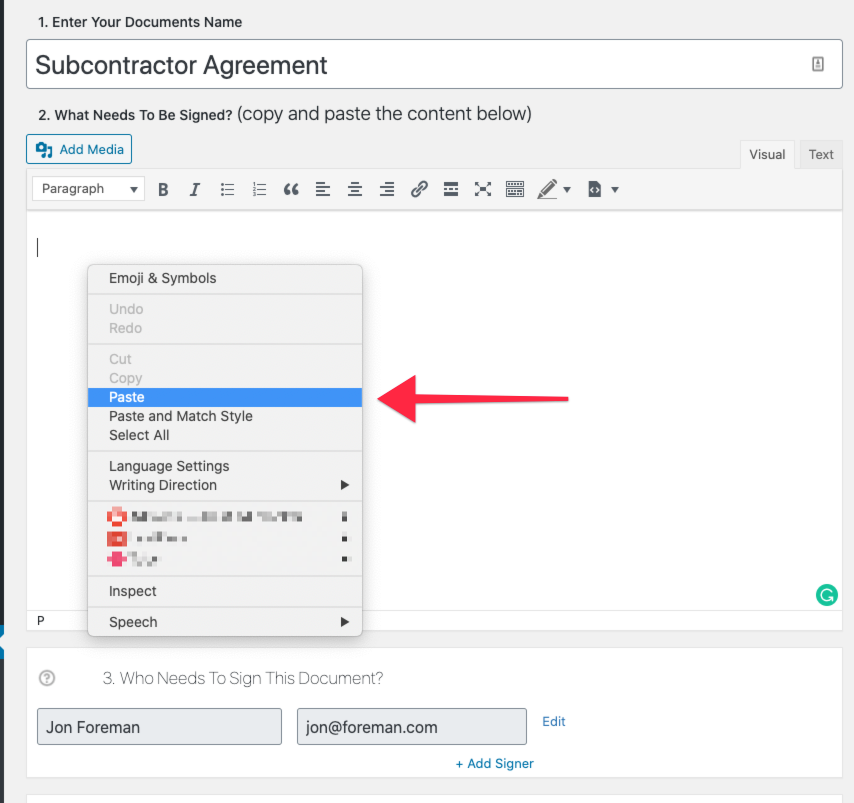
Once you’ve copied your contract contents and you’ve chosen your document type head over to the new document you started creating in WP E-Signature. The next step is to “paste” your contents in the WP E-Signature, contract builder.
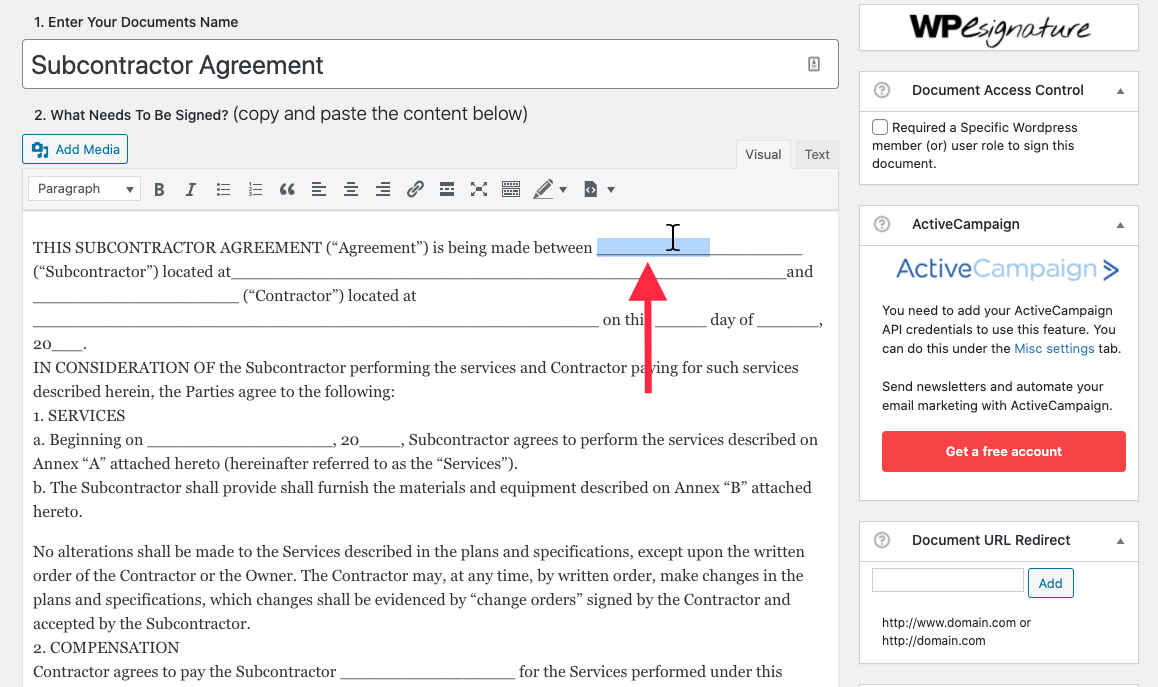
Paste Contract Template Contents in WP E-Signature’s Contract Builder
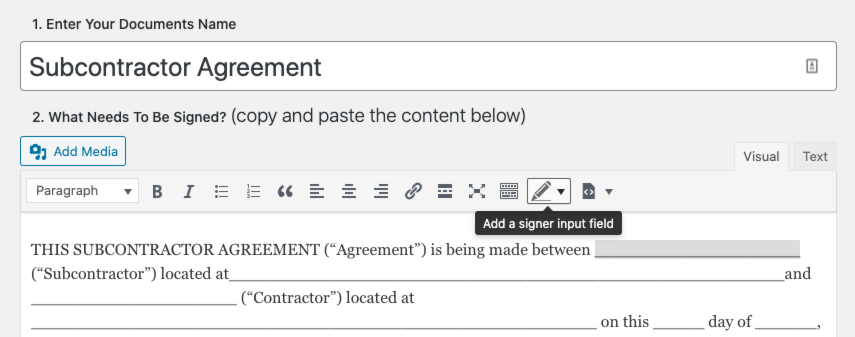
Add Text Fields, Radio Buttons, Dropdowns, etc.
To add input fields that your signers need to fill out while signing your document simply select the text/area where you’d like to insert the field.
Once you’ve selected the location to insert your field, hover over the “Input Field” icon and choose the field type you’d like to insert.
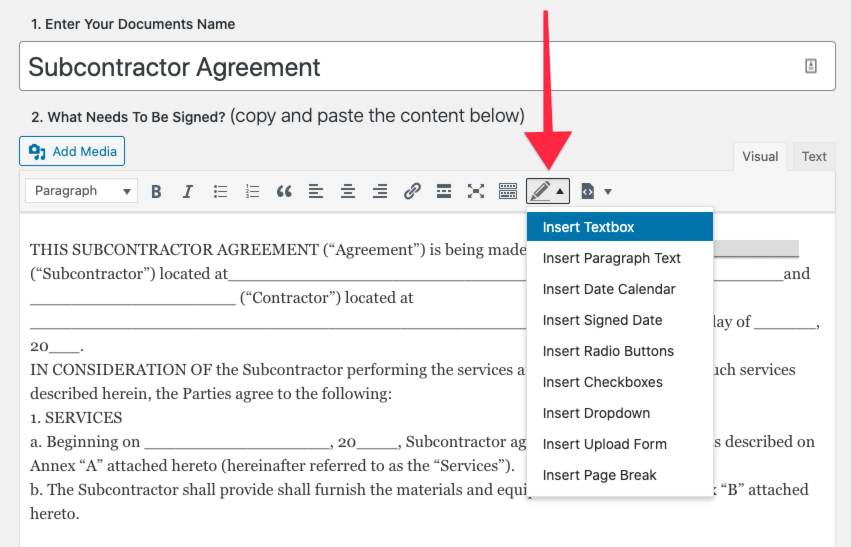
Learn more about how to insert custom fields into your contract template
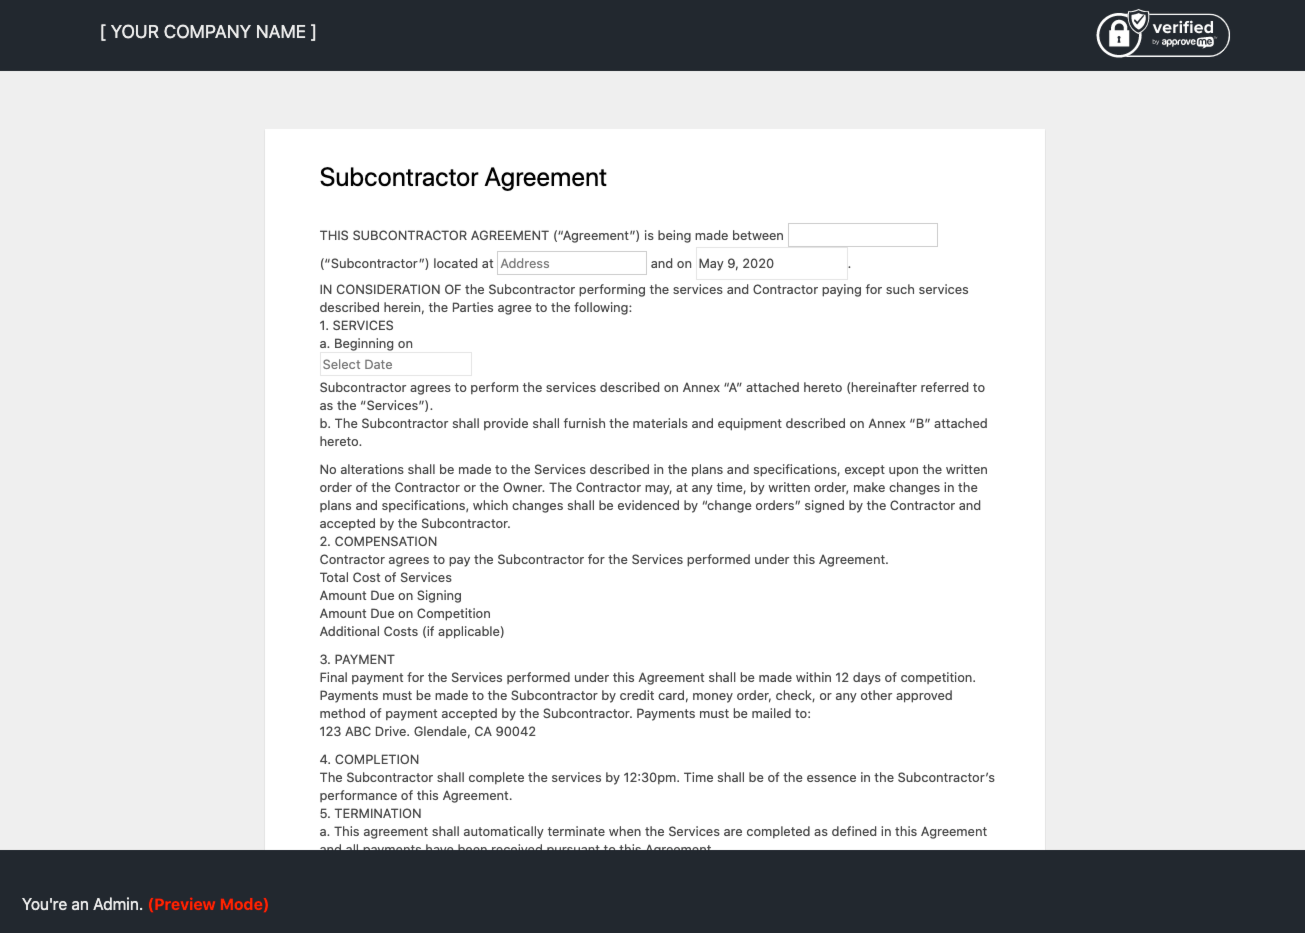
Preview your document
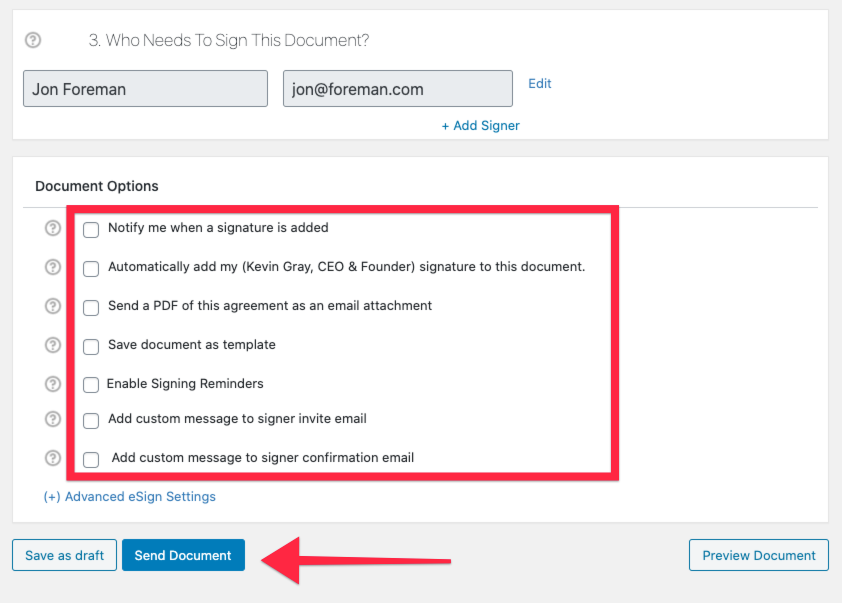
Define/setup your advanced document options and Send Document for Signature

Still stuck? How can we help?
